Inspired Creations with Sylvia
Saturday 29 August 2015
Beautiful Colours
Hi there friends,
here’s what’s been going on in my mind lately. A friend of mine is getting married and asked me to design their invitation card. Now that kind of thing usually thrills me but not this one. Why... because my friend’s colour scheme is red and white with a touch of gold.
I truly never warmed up to the red and white colour scheme.
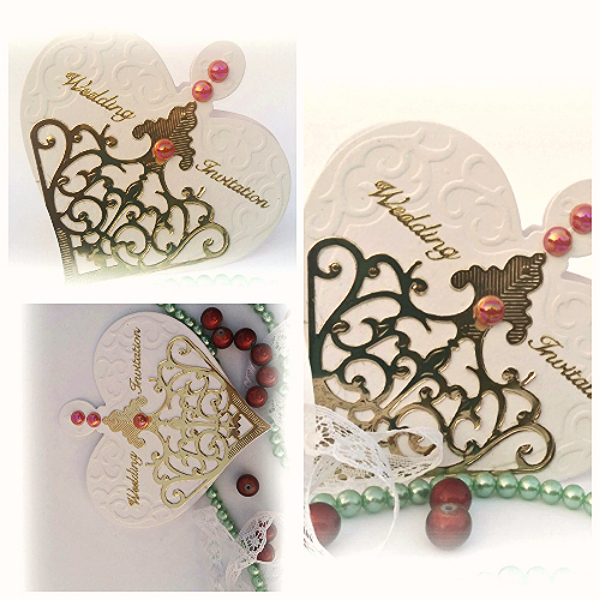
That being said though, I went to town creating these samples for my friend and his girl. At the end I was pretty impressed with the outcome; and if I have to be honest with myself I absolutely enjoyed playing around with the colours. It was an honour.
A beautiful heart shapped card with not too much red.
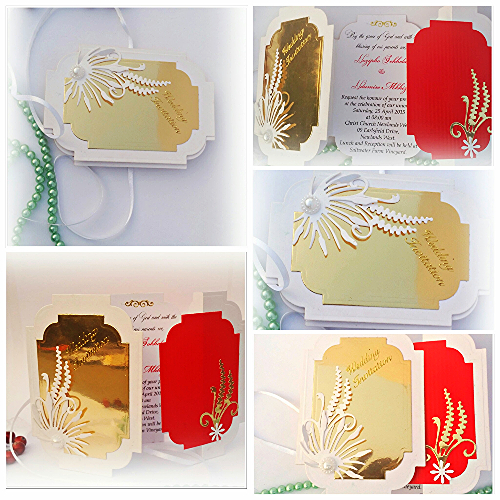
oh, this one was a joy to bring to life! Look how the read is hidden when the card is closed but how it just explodes in your face when opened. Loved it!
There is very little red on this and it is on the inside. I somehow how forgot to shoot the inside of the card!
And finally, I added a progam design in the same colour scheme. I hope that this doesn't make it too difficult for them to choose.
Thanks for stopping by, 'till next time...
Saturday 22 August 2015
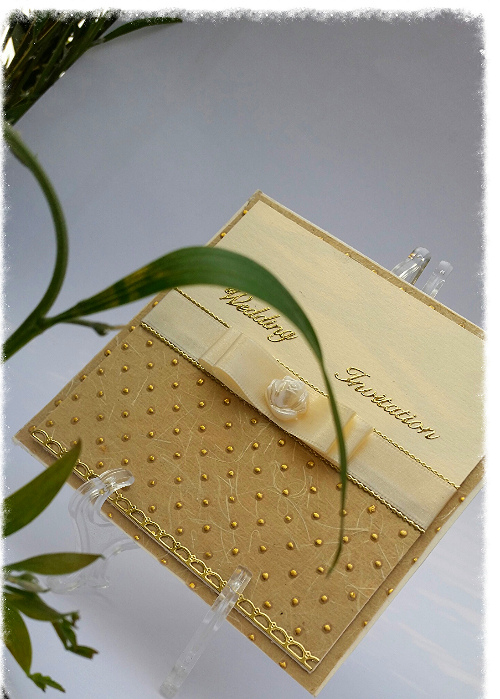
My newest wedding invitation card design
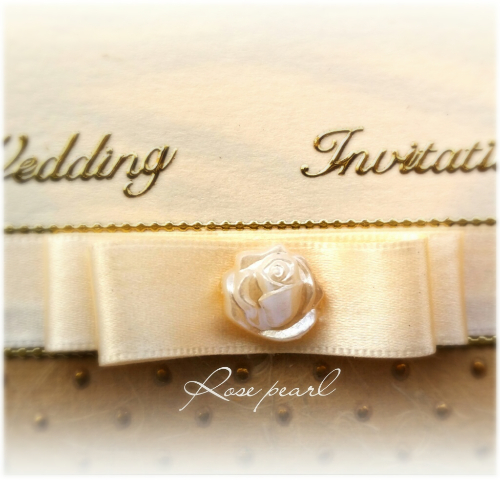
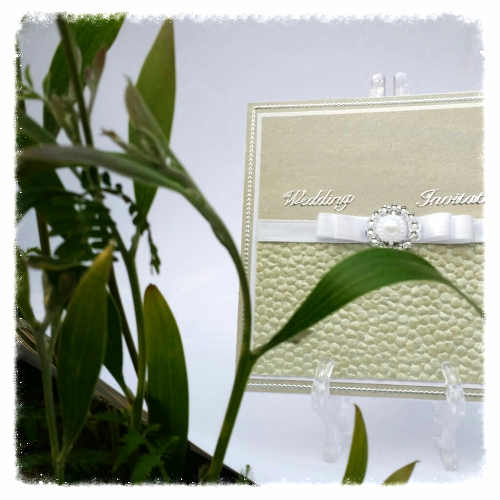
Our pocket invitation cards are simple but elegant for a couple that is expressive in a subtle manner. The design boasts elegant textured handmade papers in different styles and colours to suit most colour schemes, as well as a beautiful pearl or diamante buckle with satin ribbon. Some couples prefer their names and wedding date instead of the wedding invitation on the front of their card, either way we are happy to oblige.
I really like working with peeloffs when making invitation cards. Some people find them over powering but I think that if used correctly they can really add glamour to your projects. Remember that the aim is to enhance so too much can steal the beauty from your project.
Hope you enjoyed that. 'Till next time...
Saturday 6 June 2015
Hi there friends
Today I got busy doing what I love doing, making fun cards. I was asked to make a birthday card for a little girl turning one whose invitation cards I had made as well.It gave me such pleasure because I got to play around with colour. This was the initial invitation card that I had made for her party but then we changed and went with something simpler because we needed to make a lot of them.
This is the card I made for her aunt to wish her a happy birthday. Isn't it the cutest?
It was so much fun making the card I just went ahead and made more in different colours.
I hope that you'll enjoy watching them as much as I enjoyed making them. Thanks for stopping by.
Sunday 18 January 2015
Love Trust
Hallo friends,
Today I want to share with you a project that is closest to my heart, Nokuphila School which is an initiative of Love Trust. Read more about them on their website http://www.lovetrust.co.za/ and watch the video below for more information.
Love Trust has taken on a massive task as you will see on the video and the website. I hope that by sharing with you what they do I can help in making their course known and that you also, may in turn spread the word. If you can do more, such as donating what is needed to educate a child in any small or big way; that will be more than appreciated. All the information on how you can assist is on the website.
Let’s help educate our children and change the world!
Sunday 4 January 2015
Sneaker Card Tutorial
Hi Friends
I did say
that I intended to improve on my blogging this year, so here is my second blog of the year
and it’s a tutorial! That makes me happy.
This tutorial
was inspired by a request I received a while back to make an invitation card
for a birthday party themed all star, hope you like it
Supplies:
You will
need
3 x different
colour card stock
Dies for
shaping your design (I used sizzix and spellbinder dies)
Ribbon
Glue
4mm double
sided tape
Crop-a-dile
How
Cut your one colour card stock at 3 ¼ x 11(I used red)Score the card on the long side at 5 ½ and fold
Using your choice oval die, cut the one end into shape (I
used my sizzix die for this). That will give you the base of your card.
Using an oval die of your choice cut out an oval shape to use for the sides of your shoe, or 'ears' as I like to call them, in the same colour
as your base card.
Cut 3 half moon shapes from your two remaining coloured card
stock (2 from the one colour and one from the other), I chose black and white for
mine.

Glue the two contrasting half moons together.
Then glue
the base of your card to the half moons ensuring that you leave a little bit
sticking out as on the picture below.
The next thing to do is to glue the last half moon on to the
base of your base card to make the nose of your sneaker.
Now for the ‘ears’; mark with a pencil on each of the half
ovals where you want your shoe wholes to be and punch the wholes using the
crop-a-dile
Make sure that the wholes align on both halves and stick double
sided tape on the edge of each half oval
Remove tape and align to the edges of the base card on each
side. I didn’t make a large card so the 'ears' stick out a bit, but that's okay
because we have scissors for that. So if you flip the card over you can just
cut the excess off.
Tie a knot on one end of the ribbon to keep it in place and thread
the ribbon through the wholes on your sneaker to your desired style
I then went ahead and embellished my card with silver peel
offs. I thought that they actually compliment the shoe. Earlier on when I thought
of making this design I started with a white sneaker and as you can see it was
a bit larger than the red one. I think I prefer smaller:-)
I’m sure some you crafters can improve on this design by
making it easier and prettier. Feel free to do so and please share your
thoughts. Happy Crafting!
Friday 2 January 2015
First card for 2015
Hallo Again and Happy new year
A friend of mine asked me to make a card for a wedding that
she had to go to. The colours are just so beautiful I thought that I should
share. The wedding theme was coral and white. This was the first time I used a
flowersoft globe and I thought that it worked well for this card. The calla lilies
and the rest of the embellishments are from my old stash. I normally use peel
offs to finish off my cards but I didn’t in this card, I was impressed with
myself there.
Please let me know your thoughts and please visit my website at http://intricatestudios.yolasite.com/
Subscribe to:
Posts (Atom)
